October 17, 2022

Top 9 Flags to Make Google Chrome Faster in 2022


Google Chrome is a household name because of its mostly snappy performance. Yes, ‘mostly’ snappy. Over time, we observed that Chrome gets sluggish. If clearing browser data and resetting Chrome does not cut it – you probably need to check out the experimental features called flags. In this article, we’ll show you nine such flags to make Google Chrome faster.

Best Flags to make Google Chrome faster

Flags on Chrome are present on a hidden page. This is because enabling the wrong flag can mess up your web browsing experience. Therefore, we advise you to carefully read this article to enable the right flags that will help improve speed and performance on Google Chrome.

What Are Flags in Chrome

Flags are a set of experimental features and configurations on Google Chrome. These are not intended for regular users but for developers.

If you are developing a web application, you obviously must ensure that it runs well on Google Chrome. This of course will need you to test the behavior of the application under each configuration of Google Chrome. And the flags menu on Chrome lets you do all of these tests and experiments, by enabling and disabling many micro-level features on Google Chrome.

However, a few flags are safe to use and enhance the web browsing experience. We looked into such flags and have explained in detail how they will help you. But before we get there, let’s understand how to open the flags menu on Google Chrome.

How to Open Chrome Flags Menu

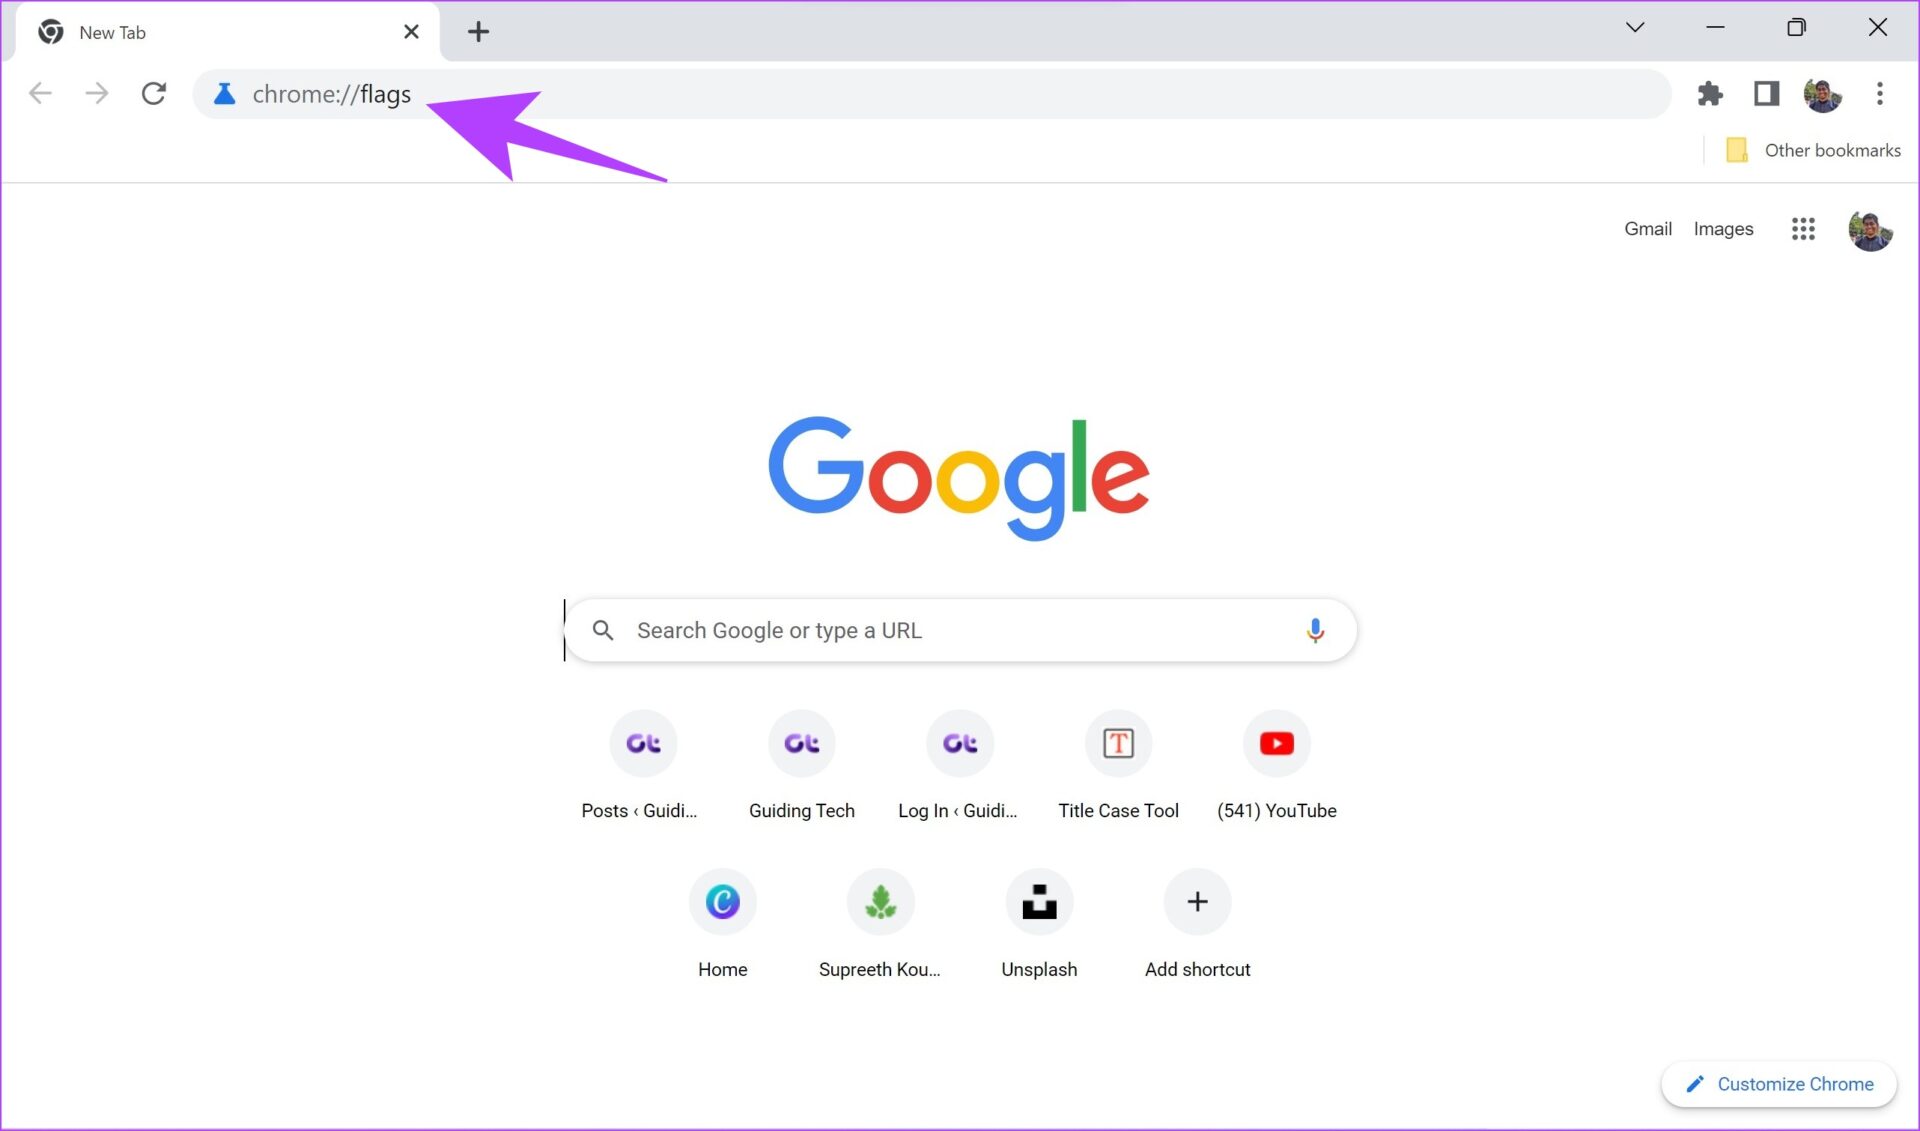
In the address bar of Google Chrome, type in ‘chrome://flags’. This is all you need to do to enter the flags page. It might seem overwhelmingly technical at first but fret not as we have an easy-to-follow procedure to enable useful flags.

Type in Command For Flags

But how do we find useful flags and enable and disable them in the long list of flags? Read our next section to find out more.

How to Enable Google Chrome Flags

Step 1: Go to chrome://flags.

Step 2: Enter the name of the flag to find it. We have recommended the best ones in the next section.

Search Bar on Flags

Step 3: Once you find the flag, click on the drop-down menu next to it.

Click on Drop Down Menu After Search

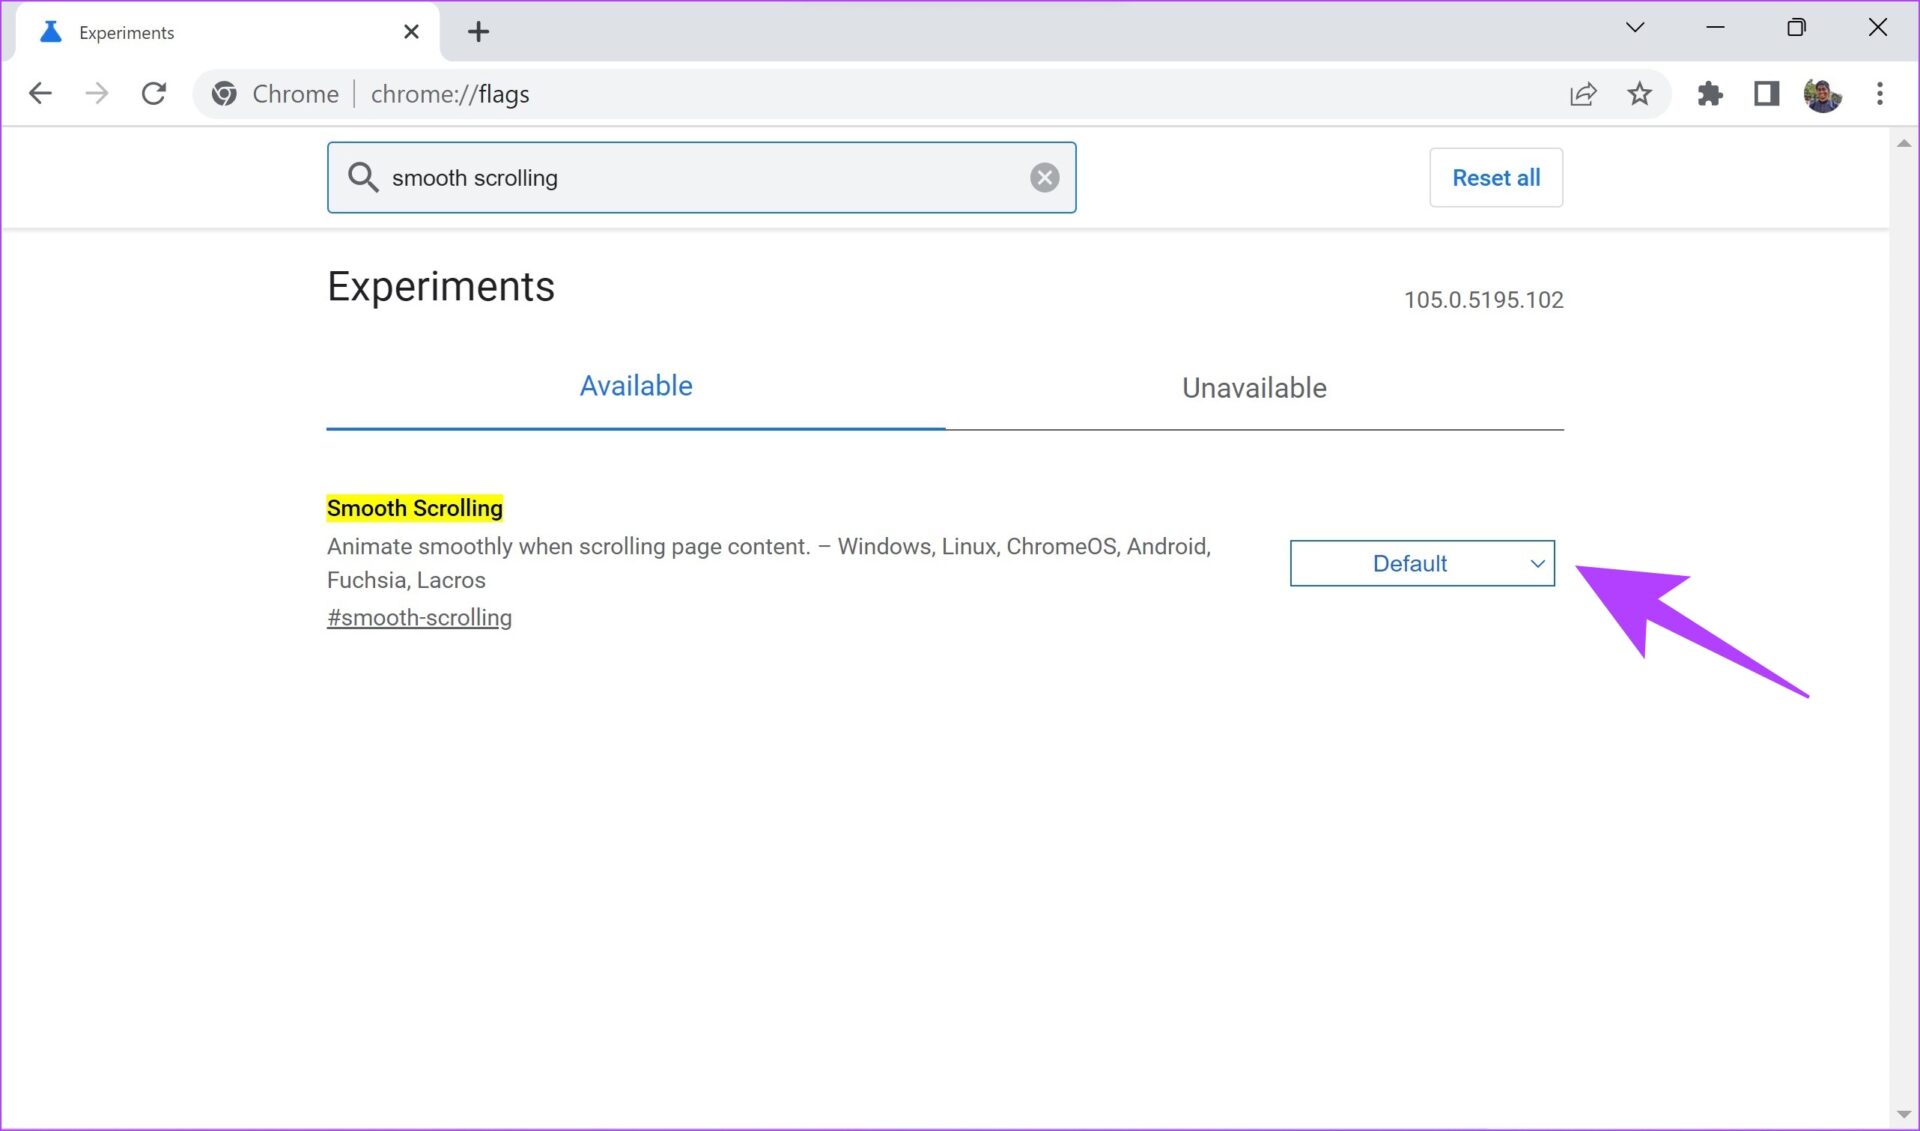
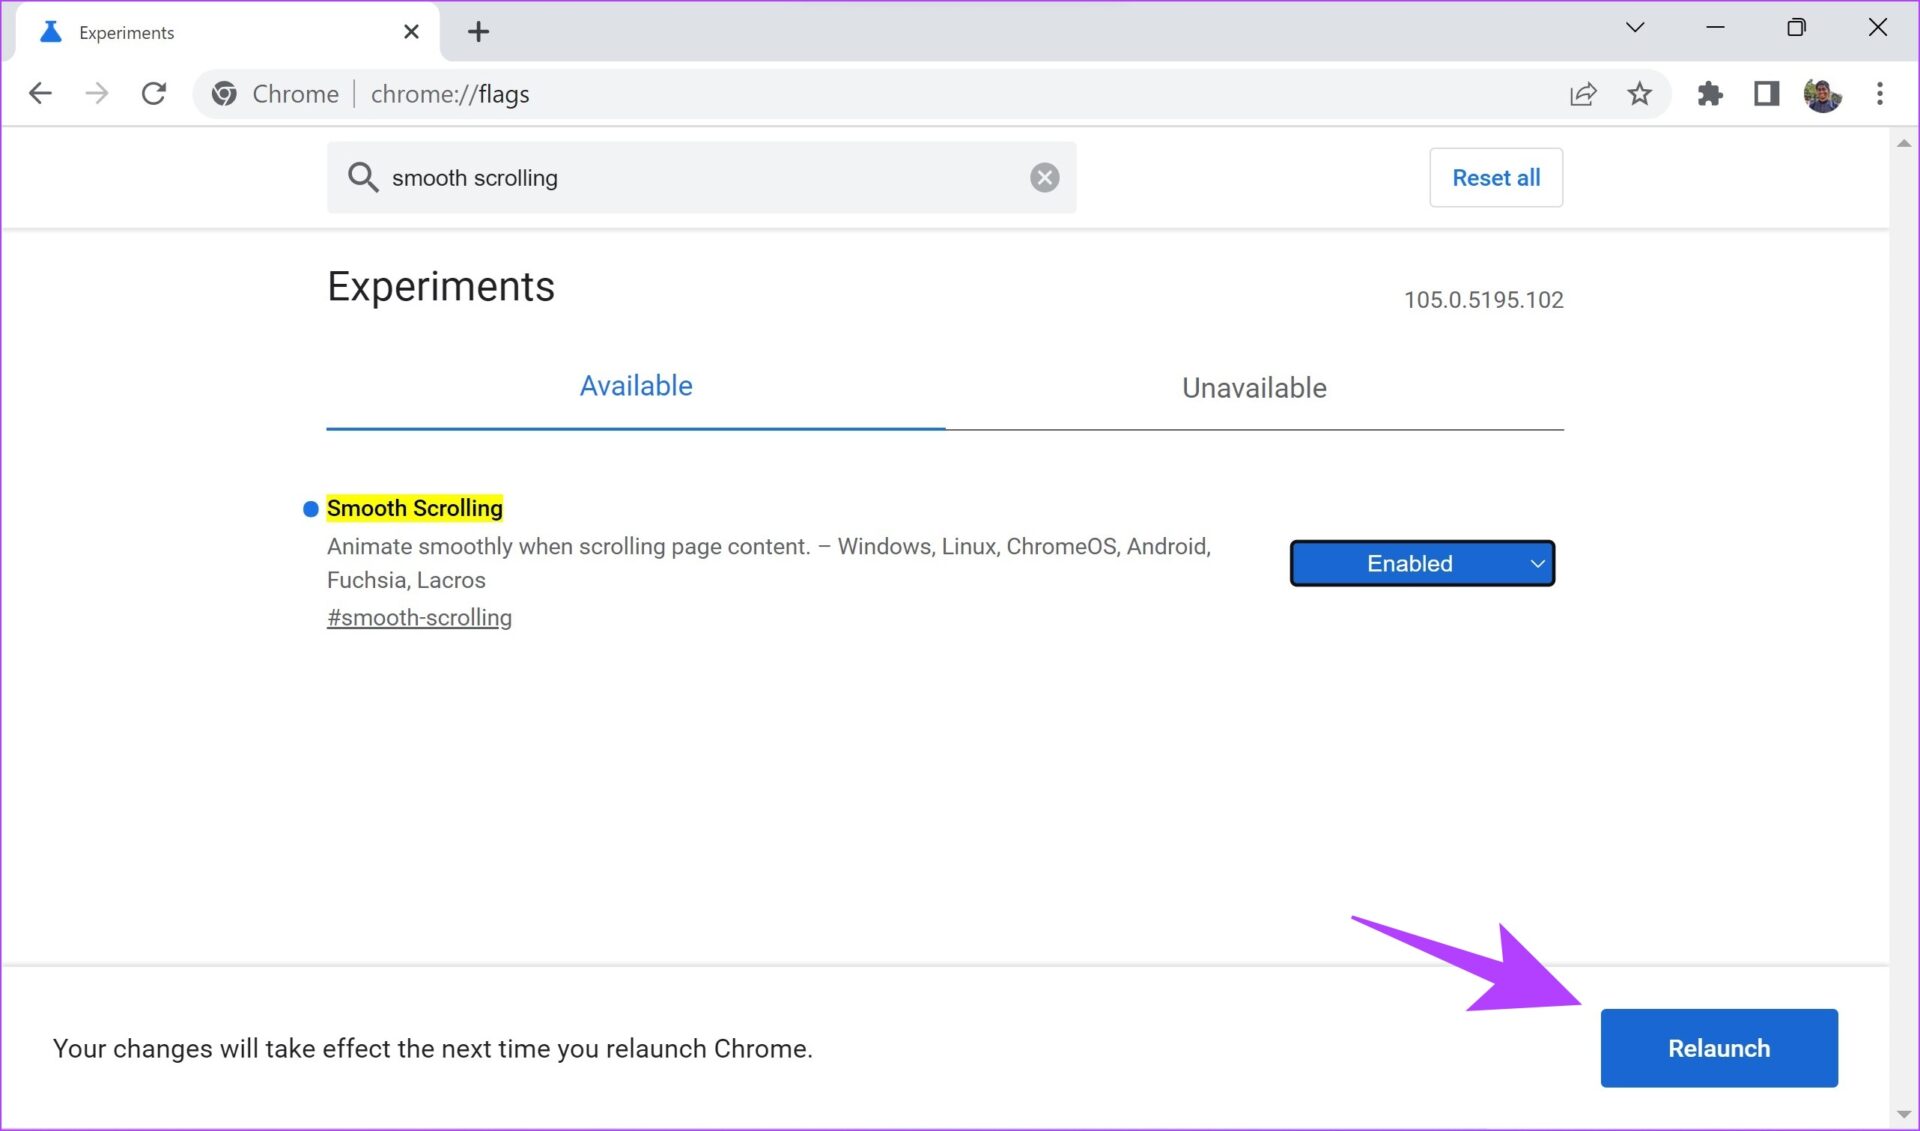
Step 4: Now, click on Enabled to enable the flag.

Click on Enabled

Step 5: Now, you will be asked to restart Chrome to get the settings into effect. Simply click on Relaunch.

Relaunch Chrome

Now that we have learned how to enable flags, it’s time we start searching, and configuring some of the useful flags that’ll help make Chrome faster.

9 Best Flags to Speed Up Google Chrome

Here’s a list of nine flags to improve your web browsing experience on Google Chrome. Read the description to understand what each flag does, and how it can affect Chrome. Once you understand and feel the necessity for it, you can go ahead and enable the same. For convenience, we have added a quick link to open up these flags on Chrome.

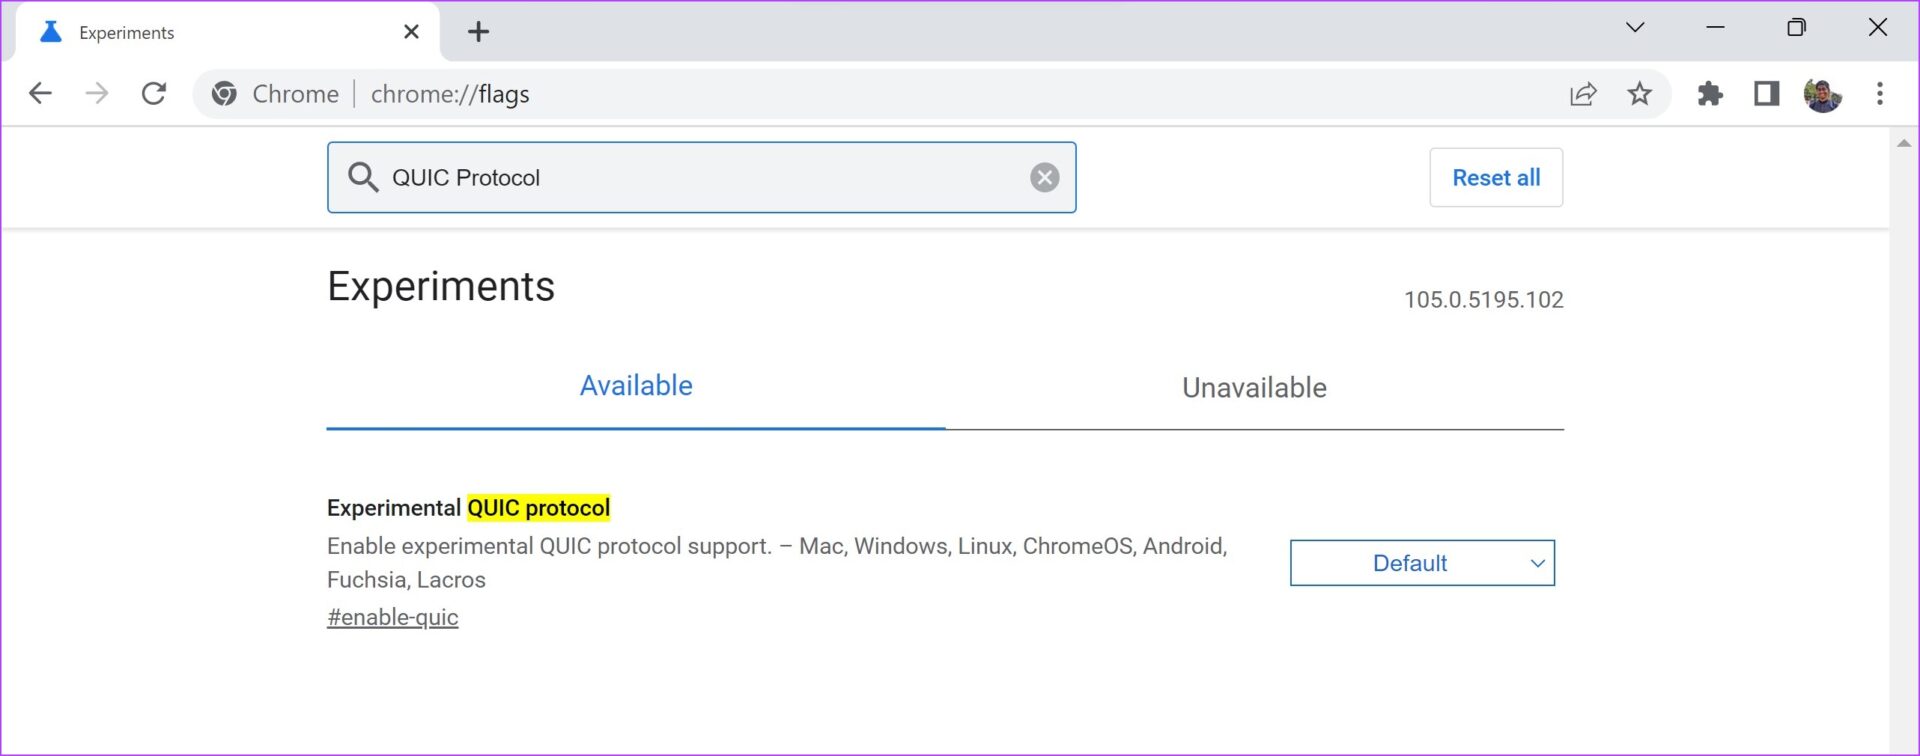
1. Experimental QUIC Protocol

Online protocols are how two applications can exchange information over the internet. QUIC is an experimental protocol developed by Google. The objective of this protocol is to reduce latency, and congestion in comparison to TCP – which is the protocol that is used online. Thus, enabling QUIC can help improve your web browsing speeds.

chrome://flags/#enable-quic

QUIC Protocol

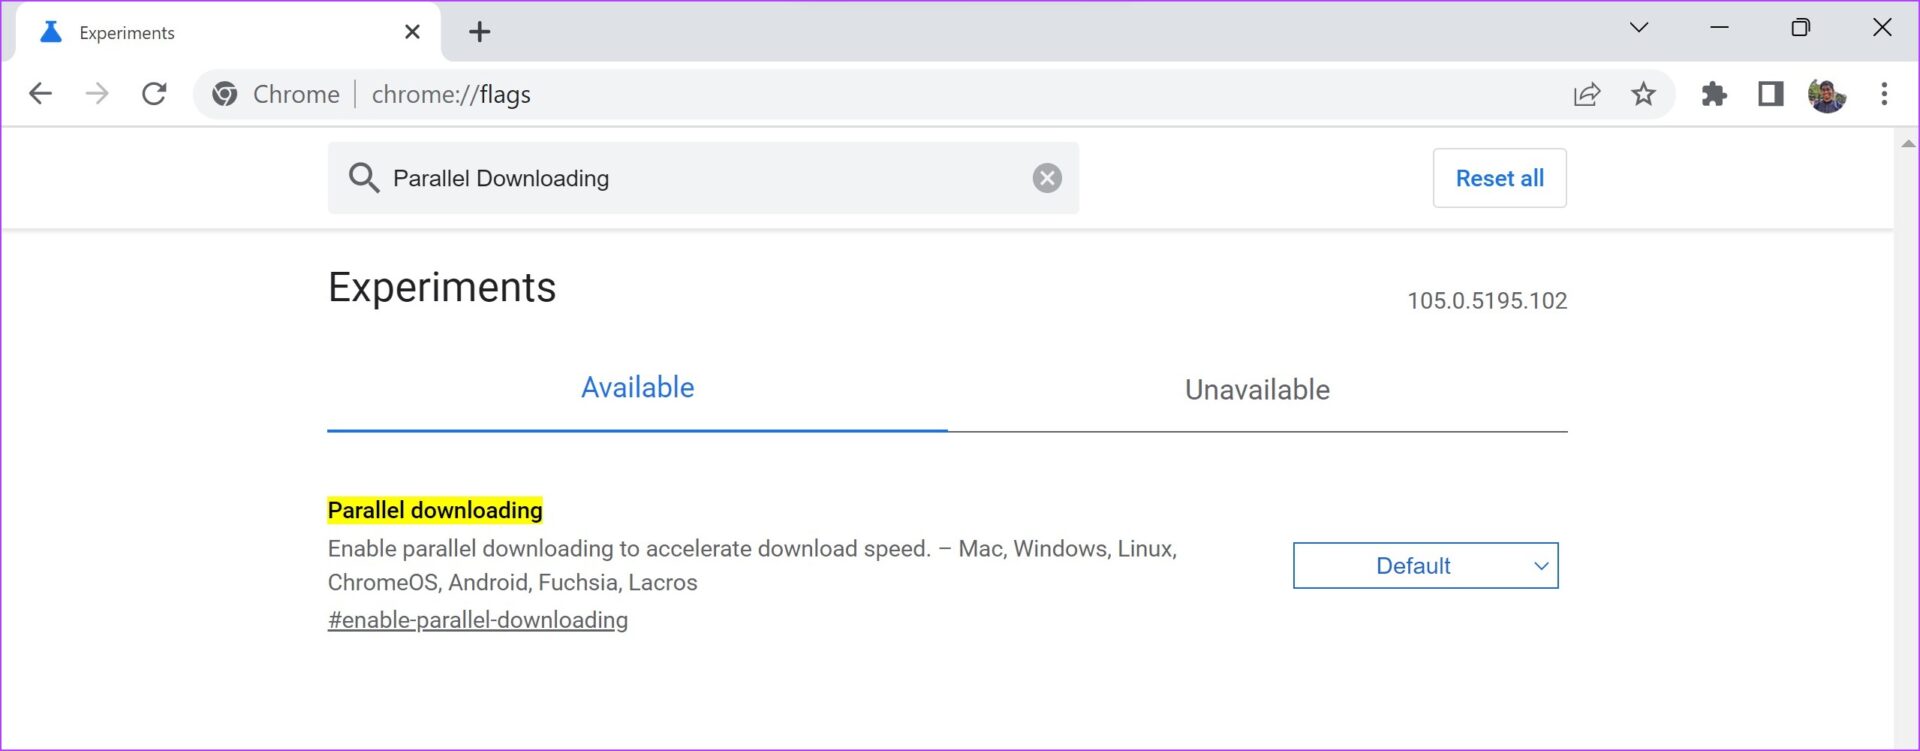
2. Parallel Downloading

Consider a situation where you are downloading a large file on Google Chrome, and it is taking up a lot of time. When you enable Parallel Downloading, the large file is split into different parts. The downloader will establish multiple connections to different servers and download the parts. This can potentially increase the download speeds on Chrome.

chrome://flags/#enable-parallel-downloading

Parallel Downloading

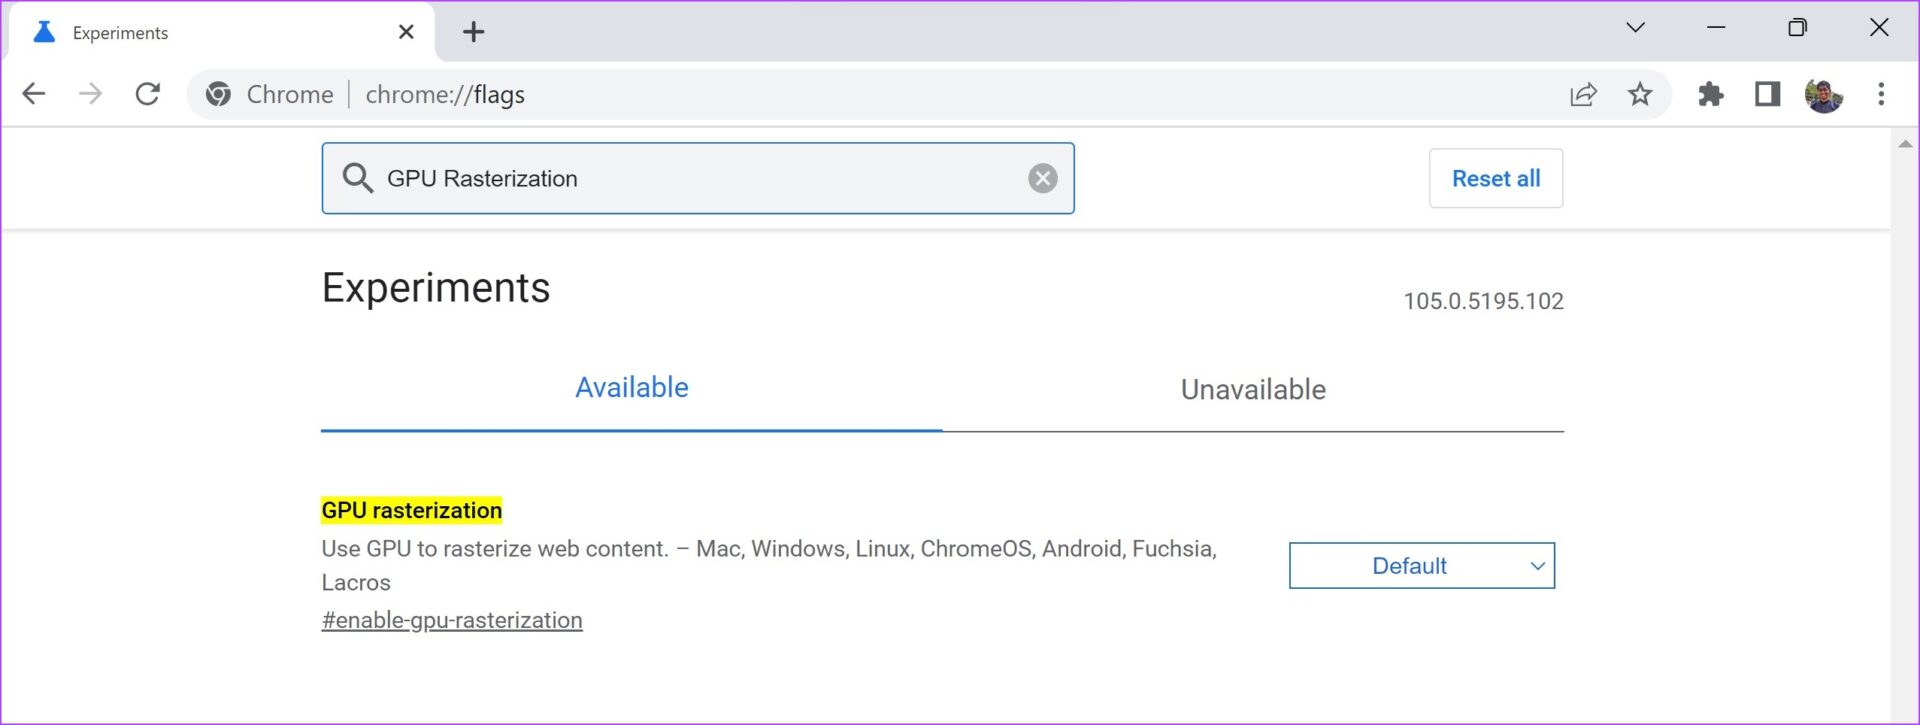
3. GPU Rasterization

By default, Chrome will not use the GPU to process and render media. If your PC has a powerful GPU – you can enable the GPU rasterization flag. This will ensure your GPU also performs a few tasks and thus, improve some efficiency in the performance.

chrome://flags/#enable-gpu-rasterization

GPU Rasterization

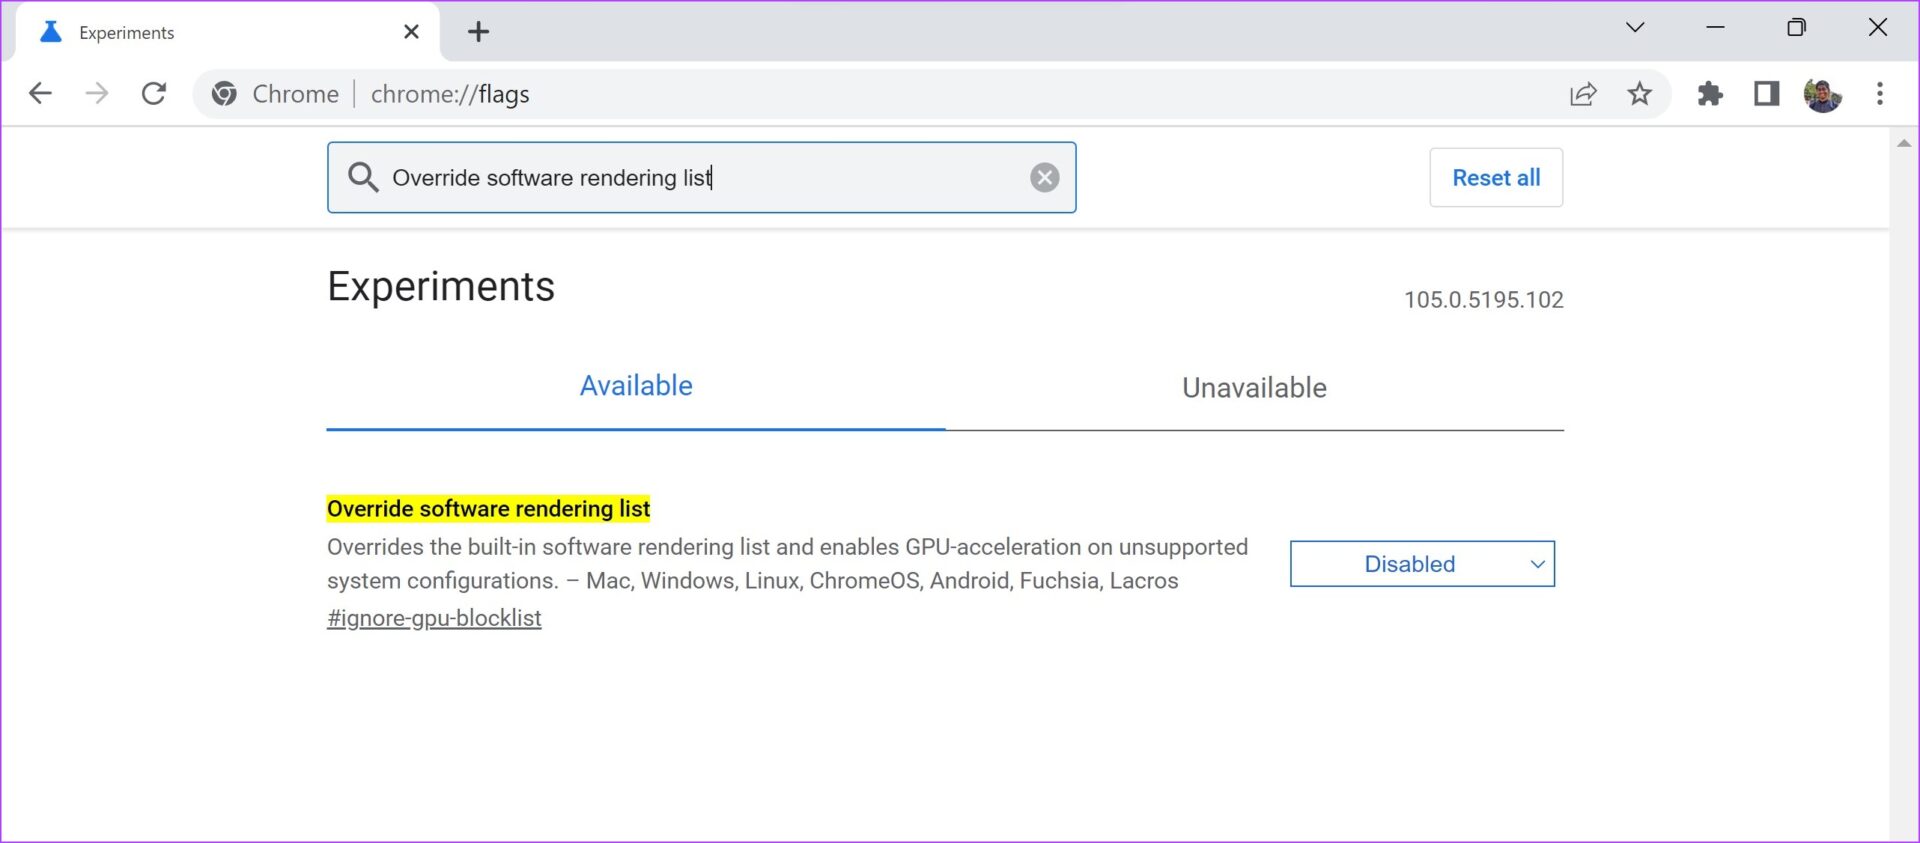
4. Override Software Rendering List

You might have a powerful GPU on your system, but at times Chrome will not be able to use GPU acceleration due to various reasons. This is usually caused by Chrome failing to recognize and enable GPU drivers.

When you enable ‘Override software rendering’, it will force Chrome to use GPU rendering over the default rendering mechanism. Thus, this GPU acceleration can enable a better web browsing performance.

chrome://flags/#ignore-gpu-blocklist

Override Software Rendering List

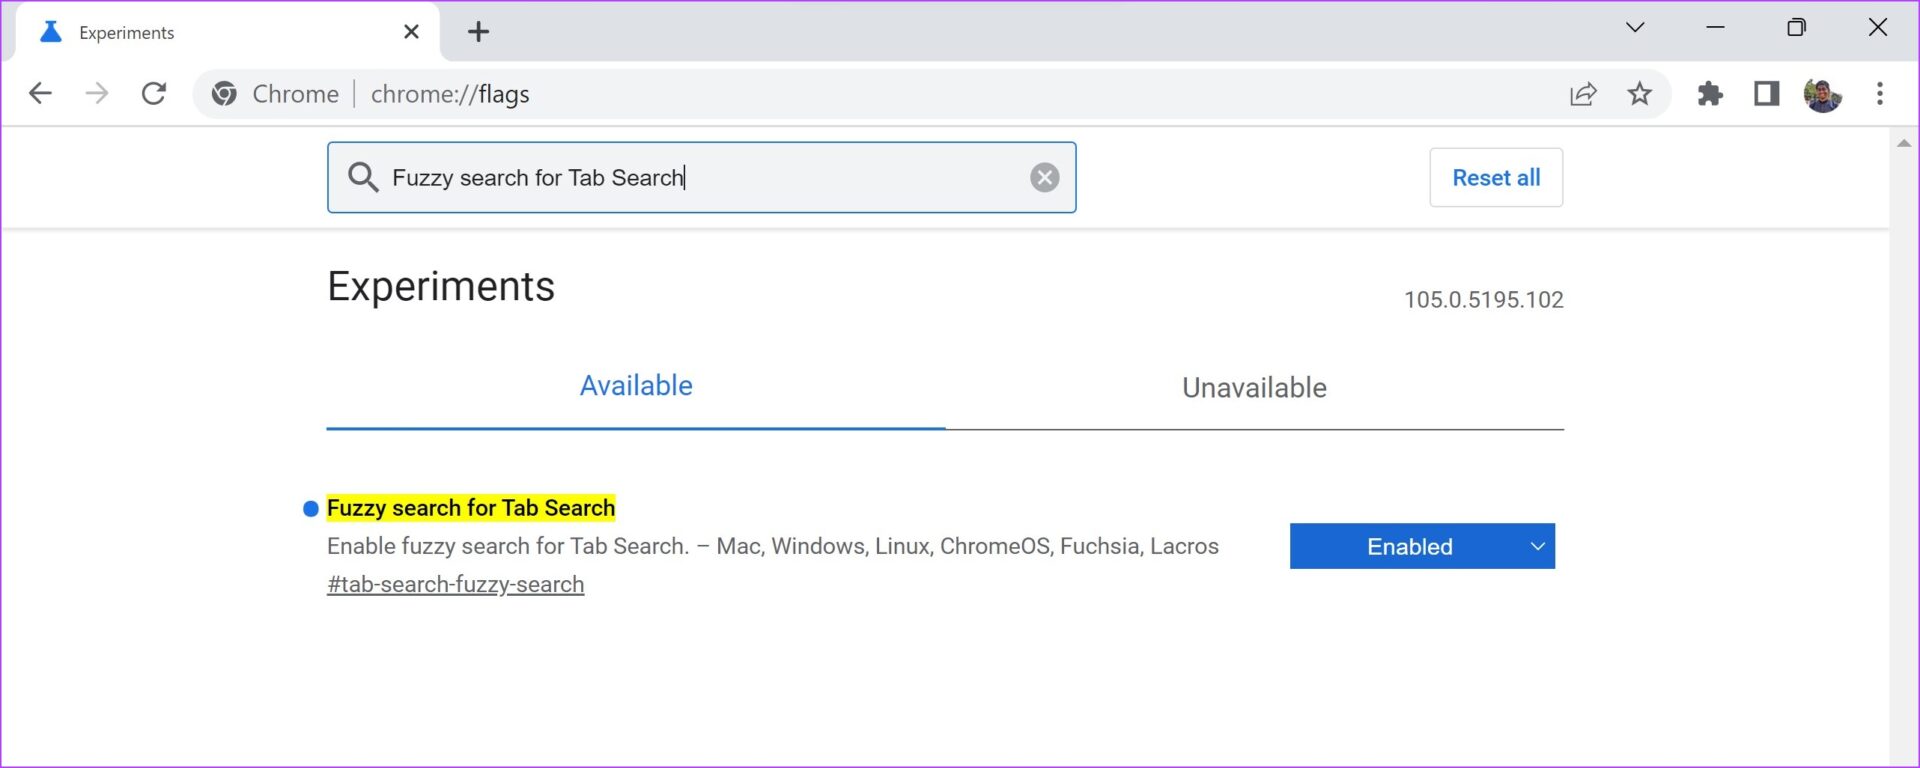
5. Fuzzy Search for Tab Search

All of us have experienced situations where we have hundreds of tabs open on Google Chrome, and we are unable to find that one particular tab. And to solve this problem, there is a tab search option on the Google Chrome toolbar, the bottom-facing arrow next to the minimize icon.

To make the search results even faster, you can enable the ‘Fuzzy search for Tab Search’ flag. It allows you to search for terms similar to your intended search query and not the exact one. For example, if you are searching a Google Calendar tab, you can type in ‘GC’ and it will return the search result that includes the Google Calendar tab.

chrome://flags/#tab-search-fuzzy-search

Enable Tab Search

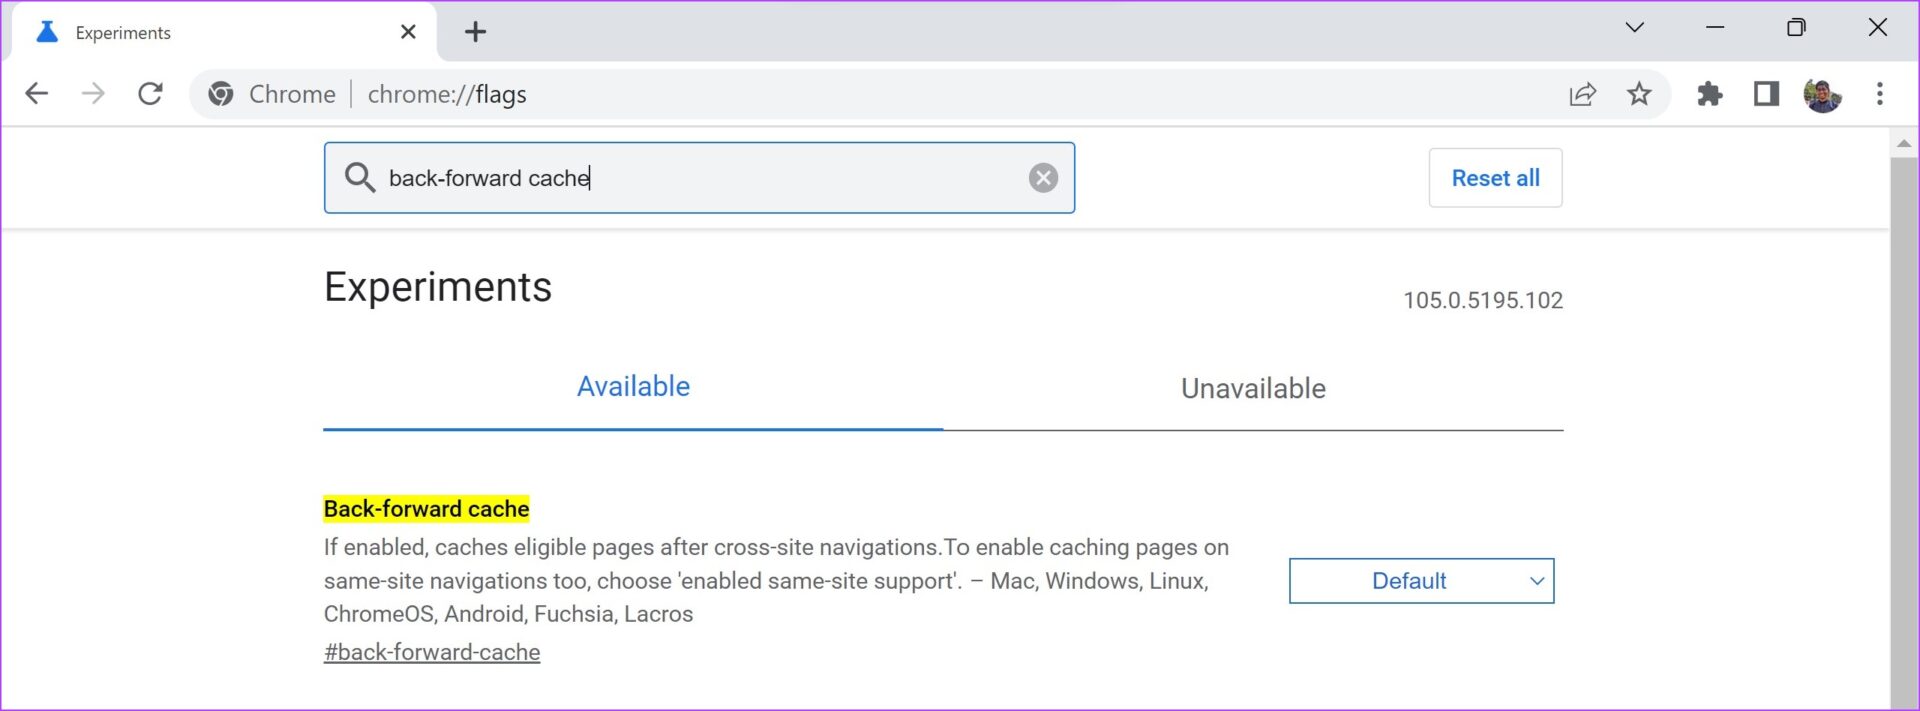
6. Back Forward Cache

The back and forward button on the toolbar of Google Chrome is the fastest way to navigate between websites you just visited. If you have been a fan of this feature and use it all the time, you will appreciate this flag.

Enabling the ‘Back-forward cache’ flag will cache your recently visited websites. This will ensure you can instantly access the last site you visited on the same tab, or go forward a website.

chrome://flags/#back-forward-cache

Back Forward Cache

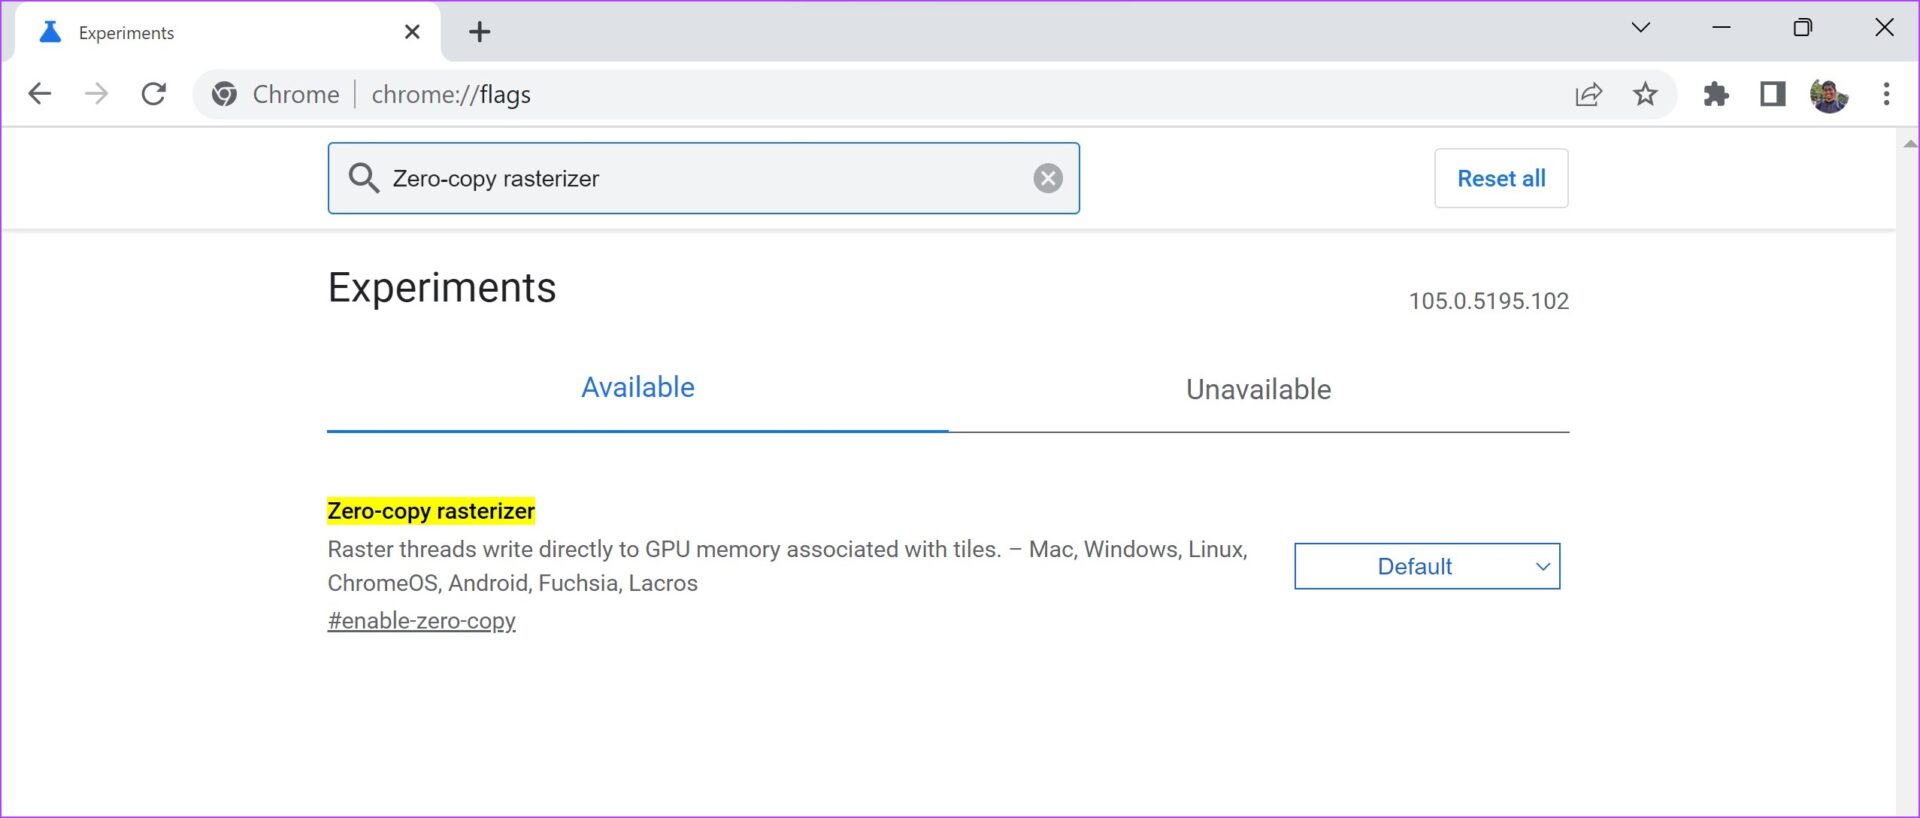
7. Zero-Copy Rasterizer

A GPU has a temporary memory unit called the VRAM. This exclusively works with the GPU. In some cases, especially if you are using an older version of RAM, your VRAM will be significantly faster. This will also help if your RAM is quite low in size.

If you enable the ‘Zero-copy rasterizer’ flag, Chrome will use the VRAM for tasks and increase the speed of your web browsing experience.
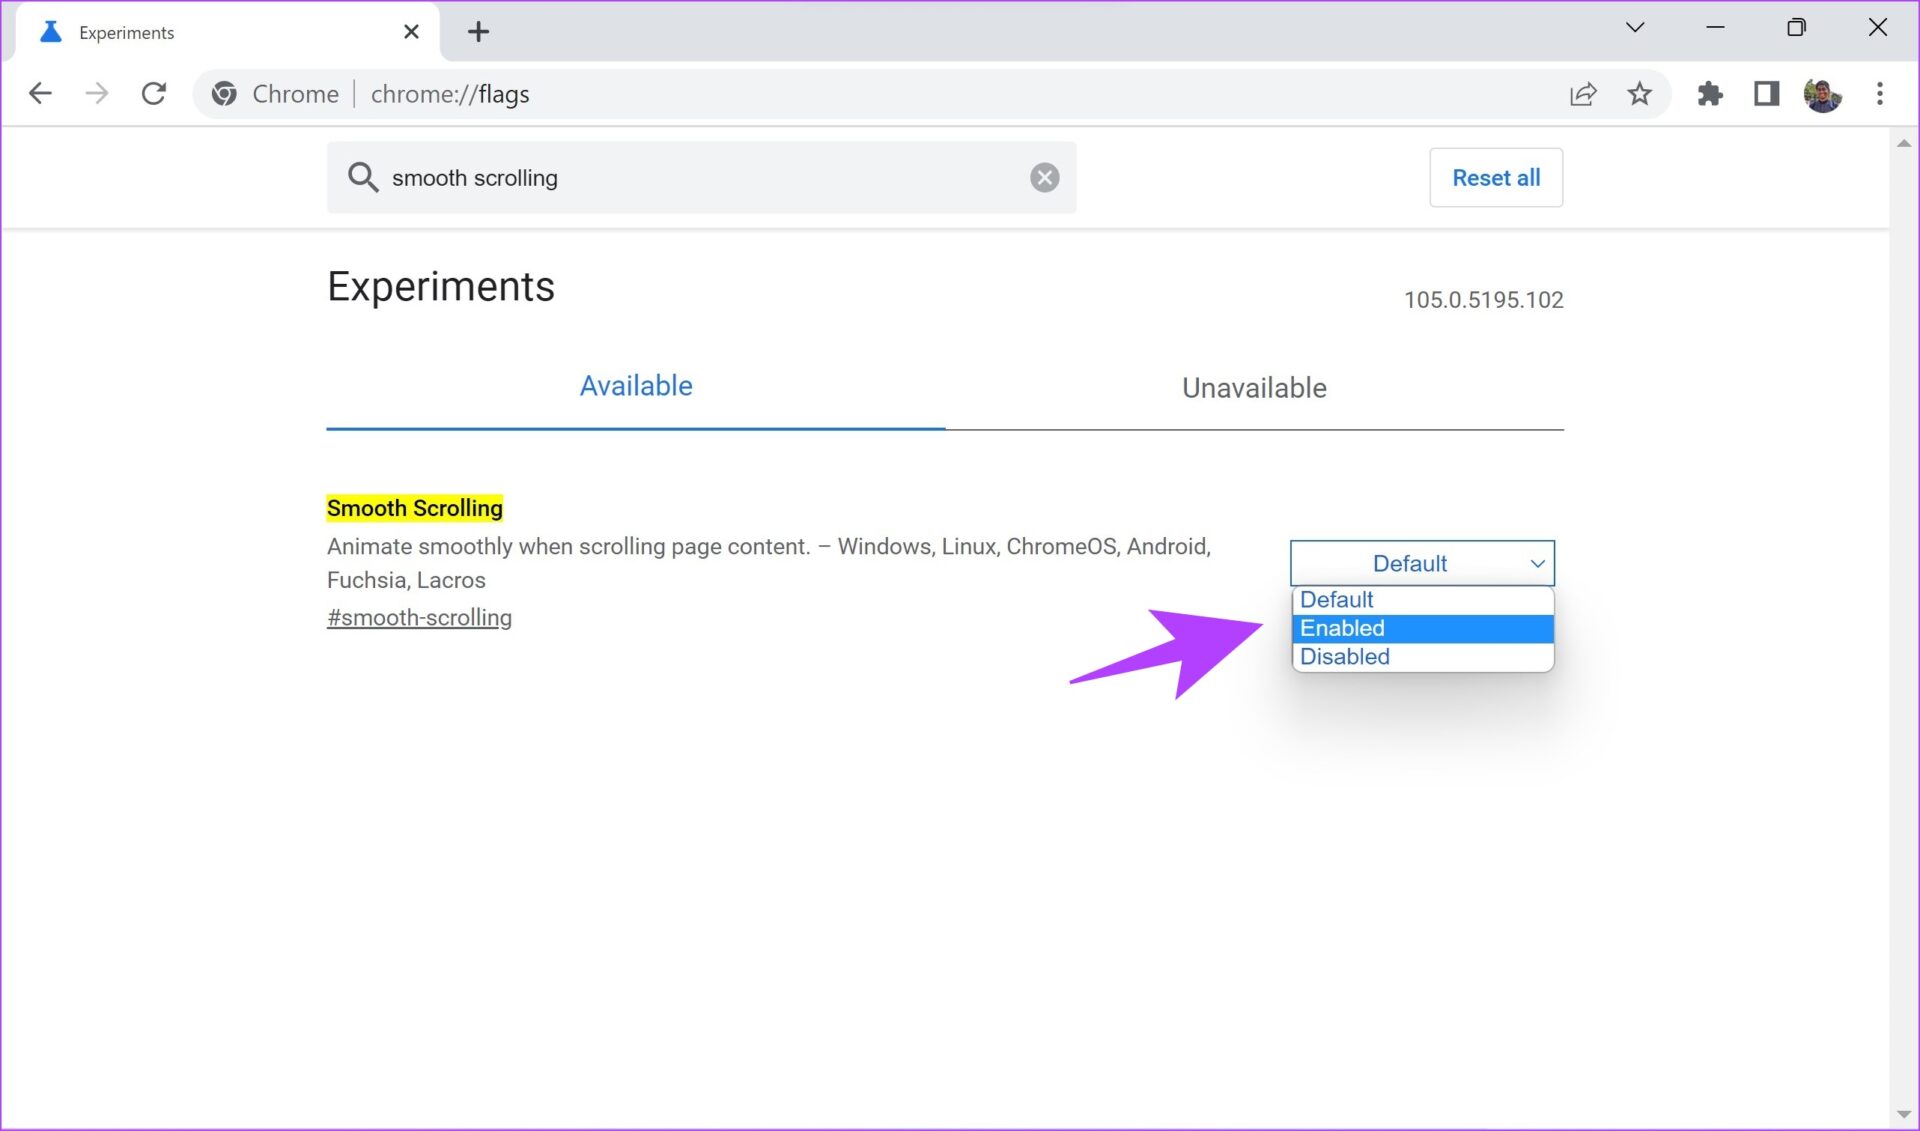
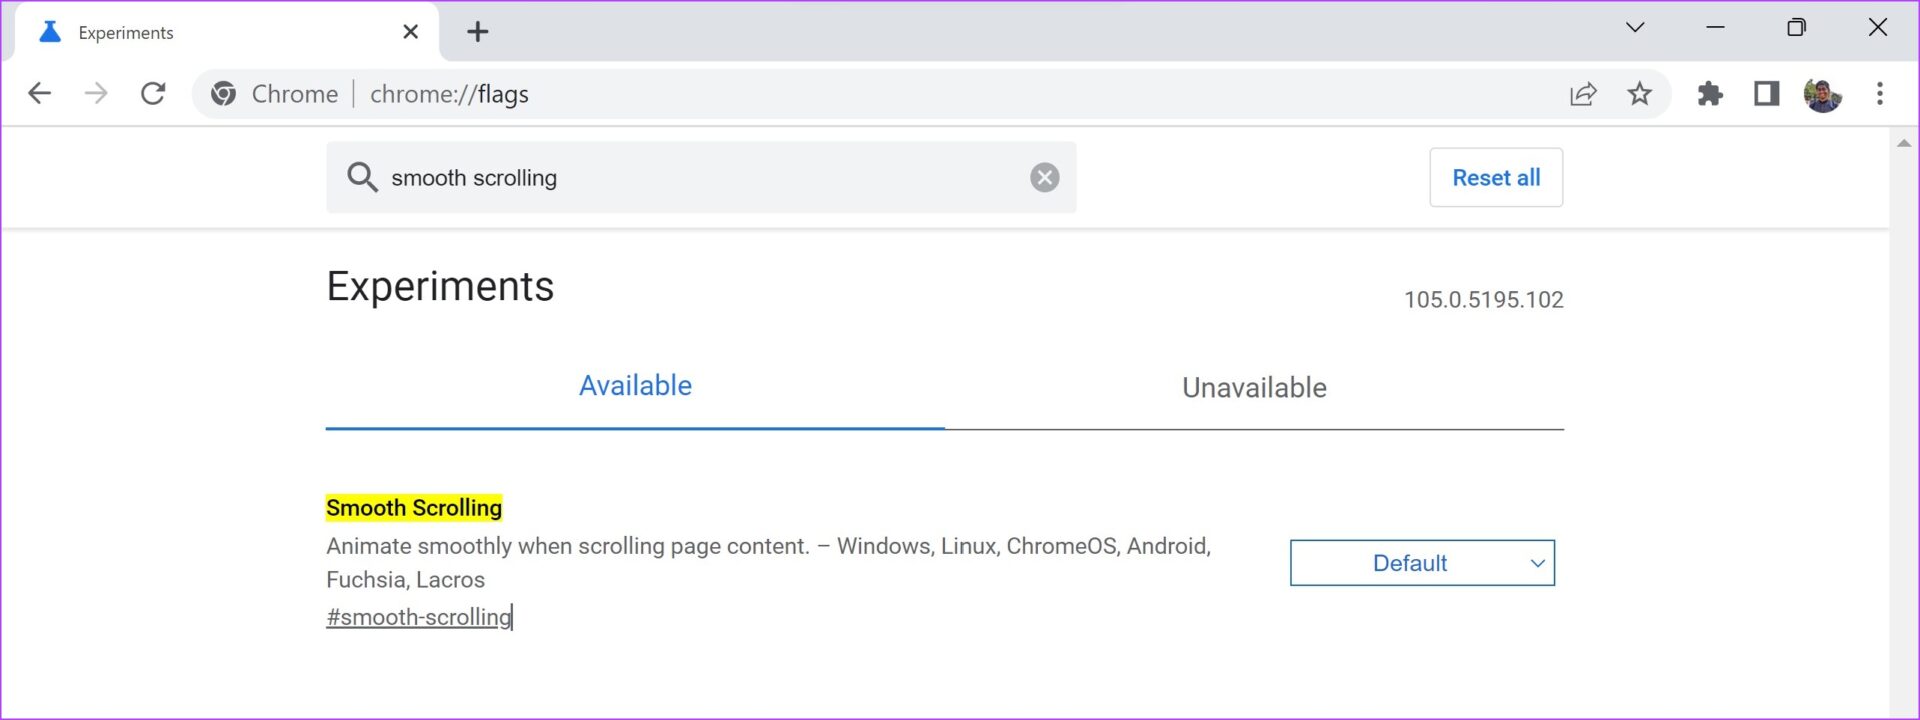
Zero Copy Rasterizer

8. Smooth Scrolling

Ever noticed sluggish scrolling on content-heavy webpages? We’re sure you have. We have too, even on PCs with good internals. Thankfully, there is a fix for this issue within flags.

If you enable the Smooth Scrolling flag, you can experience a much smoother and faster scrolling experience. As you enable the flag, it adds a few lines of code in the back end of the website (CSS, React, etc.), that can improve your navigation experience through an animation effect.

chrome://flags/#enable-zero-copy

Smooth Scrolling

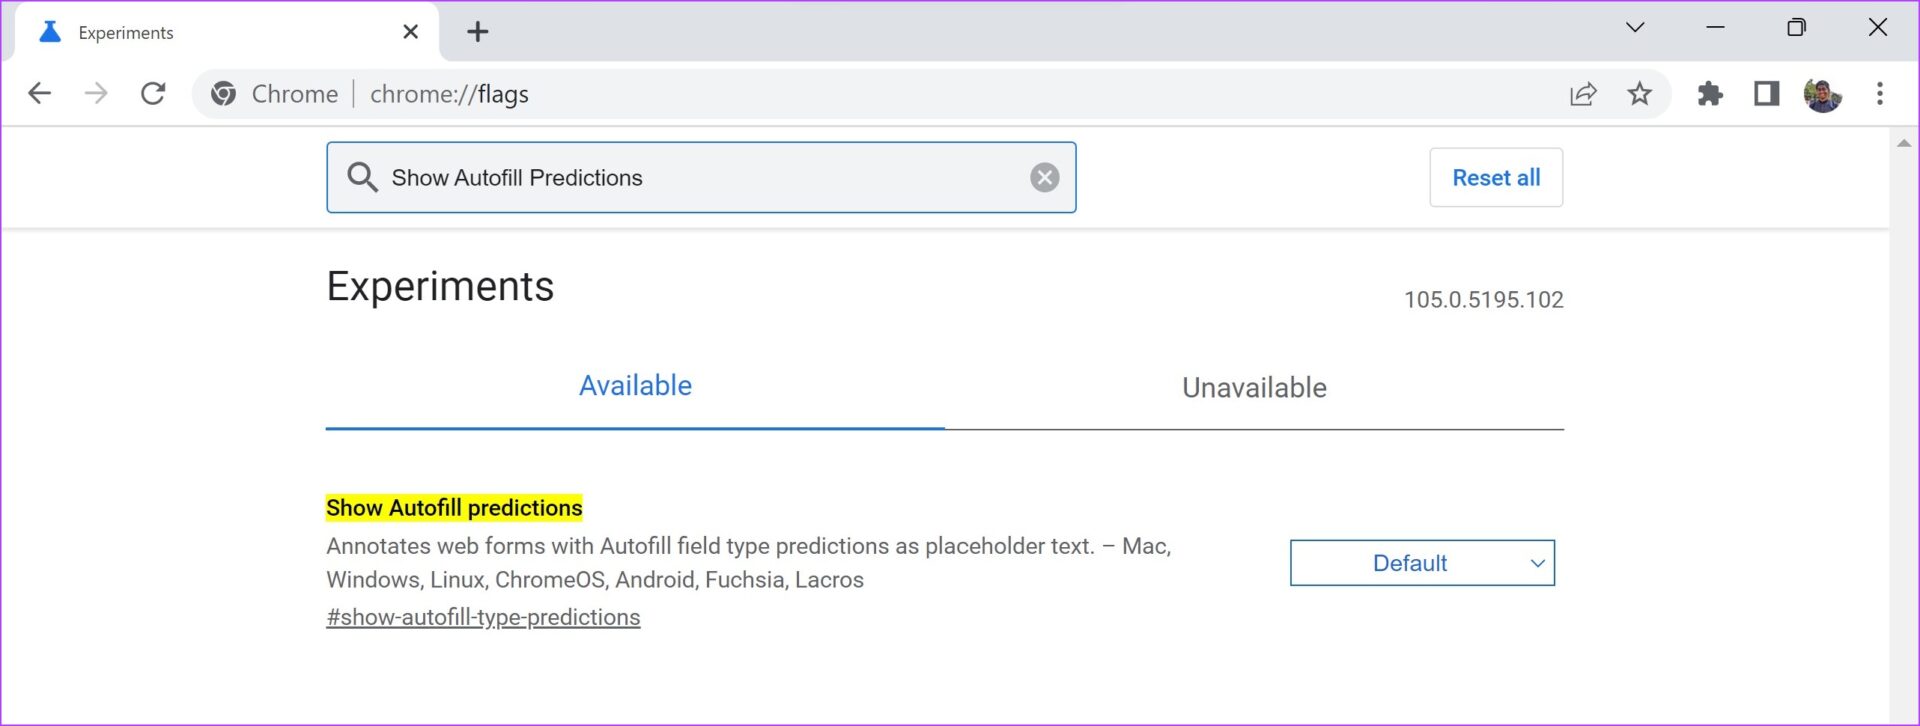
9. Show Autofill Predictions

All of us visit websites that require us to fill in personal details for shipping, registration, etc. One way to speed up this process is to enable the ‘Show Autofill predictions’ flag. When you enable this flag, you get predictions to fill unnamed fields with your existing autofill information saved on Chrome.

chrome://flags/#show-autofill-type-predictions

Show Autofill Predictions

These are some of the flags to make Google Chrome faster. However, if you have accidentally enabled a flag or want to opt out of flags entirely for whatever reason, here’s how to do it.

How to Reset Chrome Flag Settings

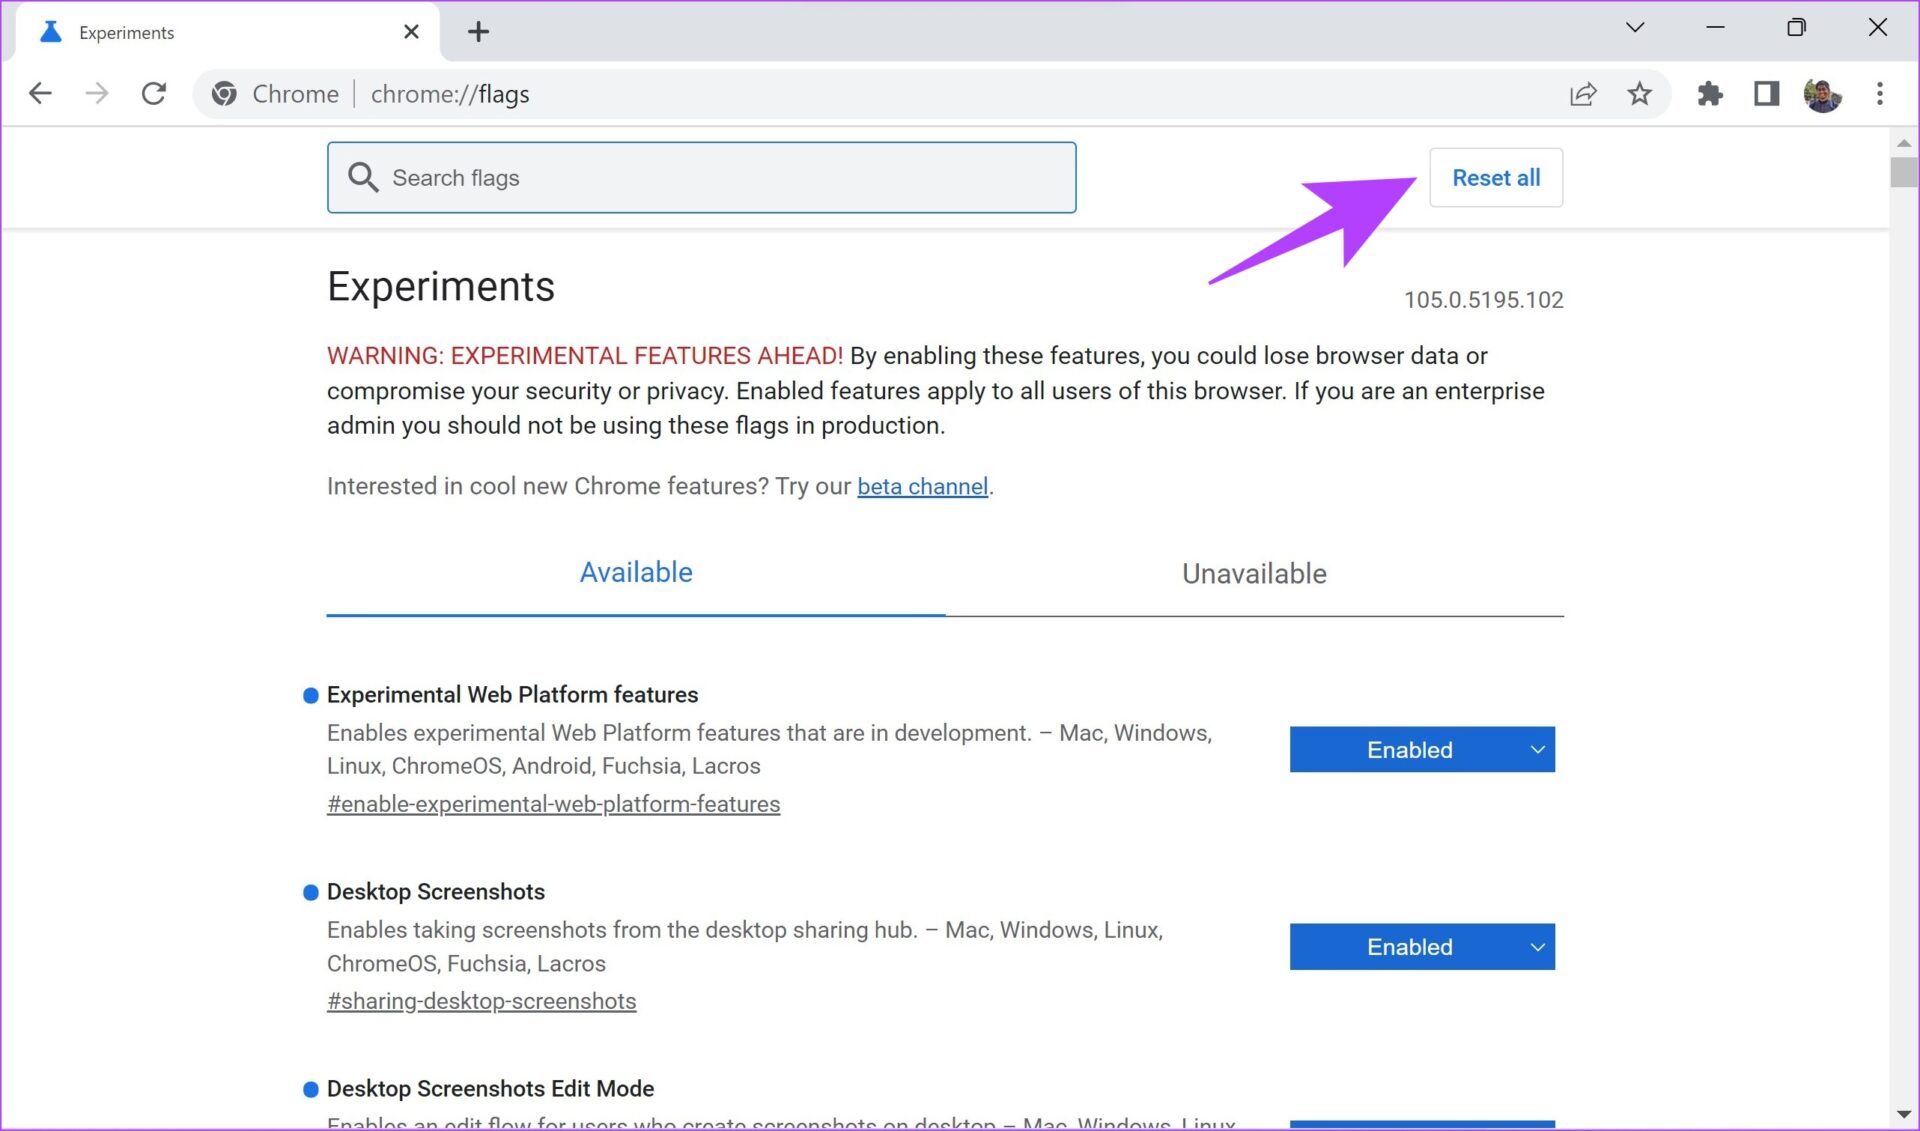
While you can individually disable flags, it is quite a hassle to search or even remember what you enabled in the first place.

You can quickly disable all flags at once using the ‘Reset all’ button provided on the main page of the flags.

Reset All

We hope you’re clear on how to enable and use flags on Google Chrome. In case you have a few questions, you can take a look at our FAQ section.

FAQs on Chrome Flags

1. Are Chrome flags safe?

Yes, Chrome flags are safe to use. However, enabling the wrong flag might make your browser unstable, so we recommend enabling only the flags that you are fully aware of.

2. Are Chrome flags available on Mac?

Yes, Chrome flags are available for the following platforms—Chrome for Windows, macOS, iOS, Android, Linux, and Chrome OS.

3. Some flags are not available on my Chrome. What do I do?

Not all flags are available for all users, as it depends upon the device you are using and the build number of your Chrome. The best you can do is ensure to update to the latest version of Google Chrome.

Make the Best Use of chrome://flags

Provided you use it in the right way, flags on Chrome can significantly enhance your web browsing experience. We hope this article helped you use flags to make Google Chrome faster. Stay updated to the latest version of Google Chrome to never miss out on any new set of flags.

Source: https://www.guidingtech.com/top-flags-to-make-chrome-faster/

June 27, 2022

How to Convert PDF to Google Sheets

We often need to work with data received in the form of a PDF file.

You might have a scanned copy of important data that you need to process in Google Sheets, or you may want to work on a dataset received from someone or downloaded from a website in PDF form.

Unfortunately, there is no way to directly open a PDF in Google Sheets, or convert one to a format that can be processed in a Google worksheet.

There are, however, ways to indirectly get your data into a Google Sheet.
In this tutorial, we will discuss different ways to convert PDF files to Google Sheets format.

How to Convert PDF to Google Sheets

At this point, there are largely two ways to convert PDF files to Google Sheets format:

  • By using other Google applications like Google Drive, Google Docs.
  • By Using third party applications or online tools.

Let us look at each of these methods one by one.

Related reading: How to Convert PDF to Word on Mac [5 Easy Ways]

Using Google Docs to Convert PDF to Google Sheets

Let’s say you have the following PDF file saved somewhere on your computer hard disk.

PDF to Convert to Google Sheets

If you want to open this file in Google Sheets, here’s what you have to do:

  1. Go to your Google Drive (drive.google.com).
  2. Navigate to New->File Upload.Click on File Upload
  3. You should now see a File Upload dialog box from where you can select the folder you want to fetch your PDF file from.
  4. Double click the name of your pdf file.
  5. Your file should start uploading and you can see this from a box at the bottom right corner of your browser window.
  6. Once the file is done uploading, the box will say ‘1 upload complete’.Upload Completed
  7. Click on the name of your PDF file.
  8. The file will open in a popup within the same tab.
  9. Click on Open With, followed by Google Docs.Open with Google Docs
  10. This will open the PDF in Google Docs.PDF opened in Google Docs
  11. Select the part of the pdf file that you want to work with and copy it (by pressing CTRL+C).
  12. Open a Google Sheets file, select the cell where you want the contents of the PDF file to be placed, and press CTRL+V to paste.PDF data converted to Google Sheets

Your PDF file’s table contents should now be visible in Google Sheets, and you can subsequently work on this data as required.

When using this method, there are a few important points to note though:

  • If the data in a PDF file is stored as plaintext rather than in the form of a table with rows and columns, this method might not work.
  • When you paste data from a PDF into Google Sheets, you might end up bringing in hidden table cells or characters as well.

If the data is in plain text, then you might need to first convert the data into CSV format.

Converting PDF to CSV and Then Opening with Google Sheets

This might be a little bit of a long process and might require a little more effort on your part.

Here are the steps that you need to follow in case you come across such a PDF file:

Use Google Drive to upload the File:

  1. Go to your Google Drive
  2. Navigate to New->File Upload
  3. You should now see a File Upload dialog box from where you can select the folder you want to fetch your PDF file from.
  4. Double click the name of your PDF file.
  5. Your file should start uploading and you can see this from a box at the bottom right corner of your browser window.
  6. Once the file is done uploading, the box will say ‘1 upload complete’.
  7. Click on the name of your PDF file.
  8. The file will open in a popup in the same browser tab.

Use Google Sheets to Save the File as a Plaintext File (.txt)

  1. Click on Open With, followed by Google Docs.
  2. This will open the PDF in Google Docs.
  3. If you see the contents of the tables in the form of plaintext, then you will need to convert the contents into a comma-separated format. Notice that the contents of each cell are separated by a space. We need to take advantage of this and convert all space characters to commas.Tab separated data from PDF
  4. Press CTRL+H to open the Find and Replace Dialog box.
  5. In the input box next to Find, type a space character (simply by pressing the space bar on the keyboard).
  6. In the input box next to Replace with, type a comma character ‘,’.Replace space with comma
  7. Press the Replace all button. This will replace all the space characters with commas.
  8. Close the dialog box.
  9. We now have a comma-separated file.Comma separated data
  10. In our sample file, we might need to make a few adjustments, since the file already contained values separated by commas in the last column of the table. This might get treated as a separate cell when converted in Google Sheets. So for our convenience, we removed the commas between the last three values (all belonging to the last column) of each row. We replaced the commas with space, as shown below:Replace comma with space
  11. Download the file as a Plaintext file (.txt) by navigating to File —> Download —> Plaintext (.txt)Download as Plain text

Use Notepad to Save the File as a Comma Separated Value File (.csv)

  1. Once the plaintext version of the file is downloaded, open it in notepad.Open in Notepad
  2. Navigate to File->Save As.
  3. In the Save As dialog box, type the name of the file, followed by .csv, since we want to save the file in comma-separated value format.Save the file as CSV
  4. Click Save.

Now all that’s left to do is open the CSV file in Google Sheets

Use Google Sheets to Open the CSV File

  1. In your browser, open Google Sheets by typing sheets.google.com in the browser location bar.
  2. Navigate to File->Open (or just press the shortcut CTRL+O).
  3. This will open the ‘Open a file’ dialog box.Open a file dialog box
  4. Select the Upload tab and press the button that says ‘Select a file from your device’.Select Upload a file option
  5. Double-click on the CSV version of your file from its appropriate folder.Select the CSV file you want to open
  6. This will now load the contents of your table into Google Sheets.CSV file data opens in Google Sheets

You will notice every value that you separated with commas now occupies individual cells in Google Sheets. You can now work on the contents of the file and process the data as you need to.

Note: You might need to do a little more work to clean up the data by removing extra blank cells, removing hidden or illegible characters, formatting date values, etc.

Using Third-Party Applications / Online Tools to Convert PDF to Google Sheets

Even though Google Sheets does not provide an easy way to convert PDF files to a format that Google Sheets understands, there are a number of applications and online tools available to get this done quickly and easily.

In this section, we will discuss some of these tools.

Using Google Workspace Marketplace (PDF Tables Extractor) to Convert PDF to Google Sheets

The PDF Tables Extractor is a Google application designed to extract tables from a PDF file. It extracts all tables in the file, making sure it retains the row and column structure of the tables.

It then converts the file into a CSV format that you can directly edit. It also displays the extracted (and edited) table in the form of an HTML table within the browser. You can easily copy this table into Google Sheets directly.

This app can be used to extract tables from PDF files both on your Google drive and well as your local hard disk.

Here are the steps that you need to follow in order to use the PDF Tables Extractor to convert your PDF file to Google Sheets:

  1. Open the PDF file in Google Drive
  2. Click on the button on top that says ‘Open with’.
  3. In the dropdown menu that appears, select the ‘+Connect more apps’ option.Click on Connect More Apps
  4. This will open the Google Workspace Marketplace, from where you can find the apps you need.
  5. In the search bar on top, type ‘pdf table extractor’.Search for PDF table extractor
  6. Select the PDF Table ExtractorApp from the app options that appear.Select the PDF Table Extractor App
  7. Click on the Install button.Click on Install
  8. You will be asked for permission to install PDF Tables Extractor. Click Continue.Click on Continue
  9. You will then be asked to confirm if you want to allow PDF Extractor to add itself to Google Drive. Click Allow.Click on Allow
  10. You will now be asked to confirm if you want to view and manage Google Drive files and folders that you have opened or created with this app. Click Allow.Click on Allow again
  11. Click Allow once more.Click on Allow Once More
  12. You should now see a message at the bottom left of the browser window that says ‘PDF Tables Extractor has been connected’.
  13. Once again click on the button on top that says ‘Open with’.Click on Open with
  14. From the dropdown menu that appears, this time select PDF table extractor.click on pdf Table extractor
  15. The application should now open.
  16. On the left side of the window, click on the button that says ‘Open file from Google drive’.Click on Open file from Google Drive
  17. Select the PDF file that you need to convert, press Select and wait for the file to get loaded into the application.Select the file you want to open
  18. You will see the name of the file on top of the application window when it is done loading. The ‘Stop’ button will also get disabled.File uploaded and stop button disabled
  19. Once the file has been loaded into the application, click on the button that says ‘Start, Extract Tables’.Click on Start Extract Tables
  20. This will convert your PDF file to CSV format. When processing is done, the Stop button will again become disabled and you will see the word ‘Completed’ appear in green next to the Stop button.Processing to CSV file completed
  21. You will also see the HTML version of the file in an HTML table format below.HTML version of the table
  22. You can now go ahead and copy this table, after which you can paste it into Google Sheets directly.Copy the table into Google Sheets

Using Online2pdf to Convert PDF to Google Sheets

Online2pdf is a free online tool that lets you edit, convert, and compress PDF files. The great thing about this tool is that it can work with both native as well as scanned PDF files.

This means whether the contents are in table format or in plaintext, the tool will help you quickly extract, convert and export it into Google Sheets.

Here are the steps that you need to follow in order to use Online2pdf to convert your PDF file to Google Sheets:

  1. From your browser, go to https://online2pdf.com/Goto Online2PDF
  2. Click on the Select Files button.Click on Convert
  3. Navigate to the folder on your hard disk that contains the PDF file you want to convert.
  4. Double click the name of the file.
  5. This will import the file into the web application.File gets imported
  6. Now from the dropdown next to ‘convert to:’, select ‘Excel 2007-2019(*.xlsx)’.select Excel 2007-2019 from the drop-down
  7. Click on the Convert button.Click on Convert
  8. Wait for the file to be uploaded and processed.
  9. Once the processing is done, the download of the file will start automatically.Download the converted File
  10. Save the file to your hard disk.
  11. Once you are done downloading the .xlsx file, you can go ahead and upload it into Google Sheets.

Besides this, there are a number of other online tools available to help you quickly convert your PDF files to a format usable and editable in Google Sheets.

Some of these other sites include Convertpdf2excel (https://pdfchef.com/pdf-to-excel.html), Altoconvertpdftoexcel (https://altoconvertpdftoexcel.com/) and many more.

A quick Google search will give you a number of other options. You can select the platform that you are most comfortable with and get your job done in a jiffy.

We hope this tutorial was helpful for you.

Source: https://productivityspot.com/convert-pdf-to-google-sheets/

Honorable Mentions:

PDF Table Importer


https://workspace.google.com/marketplace/app/pdf_table_importer/646940040599