How to Install Windows Virtual PC on Your Windows 7 Computer
Microsoft is hoping to take away everyone's reasons for not upgrading to Windows 7 by making sure that you'll be able to run just about any program or operating system you want with your Windows 7 computer using Windows Virtual PC. You can use Windows Virtual PC with Windows 7 to create virtual machines that allow you to run older legacy software that is not compatible with Windows 7. You can also use Windows Virtual PC to enable you to run another Microsoft tool called Windows XP Mode, which allows you to install Windows XP-compatible software and run it seamlessly in Windows 7.Windows Virtual PC has many improvements over the original Virtual PC 2007, including the ability to access USB devices, to run multiple virtual machines concurrently, to access your virtual machines through Windows Explorer, and to launch and run Windows XP Mode programs directly from Windows 7.
Windows Virtual PC has specific system requirements. Your PC must have a 1GHz processor and a CPU that supports virtualization. You'll also want at least 15 GB of hard drive space for each virtual machine you set up. You can use Windows Virtual PC with any version of Windows 7 other than the Starter Edition.
Not sure whether your machine supports virtualization? Download Microsoft's virtualization testing tool.
Just double click the downloaded file and it will examine your PC and
tell you whether your PC can handle Windows Virtual PC and whether the
technology is enabled in your BIOS.
- Open Internet Explorer and go to the Windows Virtual PC download page. Click Continue.
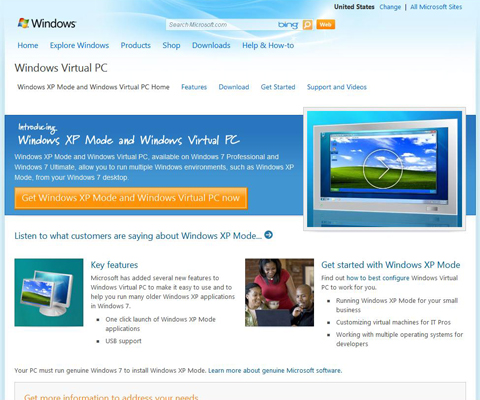 Microsoft needs to run Windows Genuine Advantage to ensure that you have a legitimate copy of Windows 7.If you plan to run Windows XP Mode, you can go directly the Virtual PC Web site to download both files at the same time. However, Windows XP Mode is only compatible with Windows 7 Professional and beyond.
 - Click the Download Files Below link and click Download for the file that matches your system's architecture.The Windows6.1-KB958559-x64.msu file is for the 32-bit system and Windows6.1-KB958559-x86.msu is for the 64-bit system.Before you install the Windows Virtual PC program, your PC's virtualization technology needs to be enabled in your system BIOS. Each manufacturer uses a different process for this, so check your owner's manual or go to the Configure BIOS page of the Windows Virtual PC web site for manufacturer-specific directions.
- Locate and double-click the downloaded file on your PC.
- When the installer finishes loading, click Yes to begin the installation.Microsoft shows you the licensing terms for Windows Virtual PC.
- Click I Accept. Then click Restart Now.When Windows 7 restarts, you can access Windows Virtual PC by typing "virtual" at the Start menu's search box.